I discovered Irish crochet in my desire to find more elaborate thread patterns. There are some very good, free resources available on the topic. Priscilla Irish Crochet Book is a very good source for information. Most of the yarn used in these old patterns is difficult to find now. It is far easier to crochet with size 20 thread than trying to find no. 70 or no. 100 thread.
One of my reasons for liking Irish crochet is that it is free-form. There are no set rules or shapes, and there are many different methods of connecting motifs. It is similar to making a piece of fabric from scratch – very couture. Irish crochet was once considered a high form of fashion because it was all done by hand in intricate detail with fine materials. Here is some intriguing information on the history of crochet.
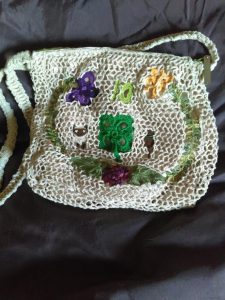
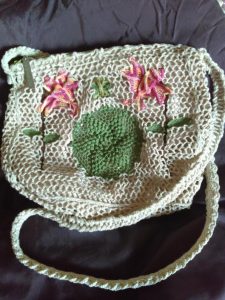
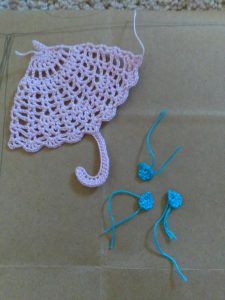
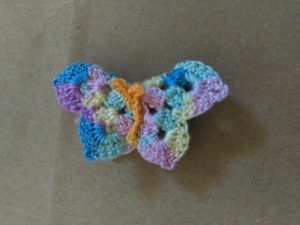
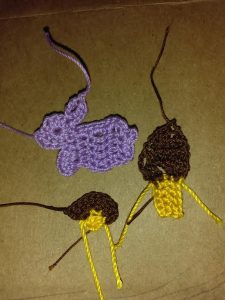
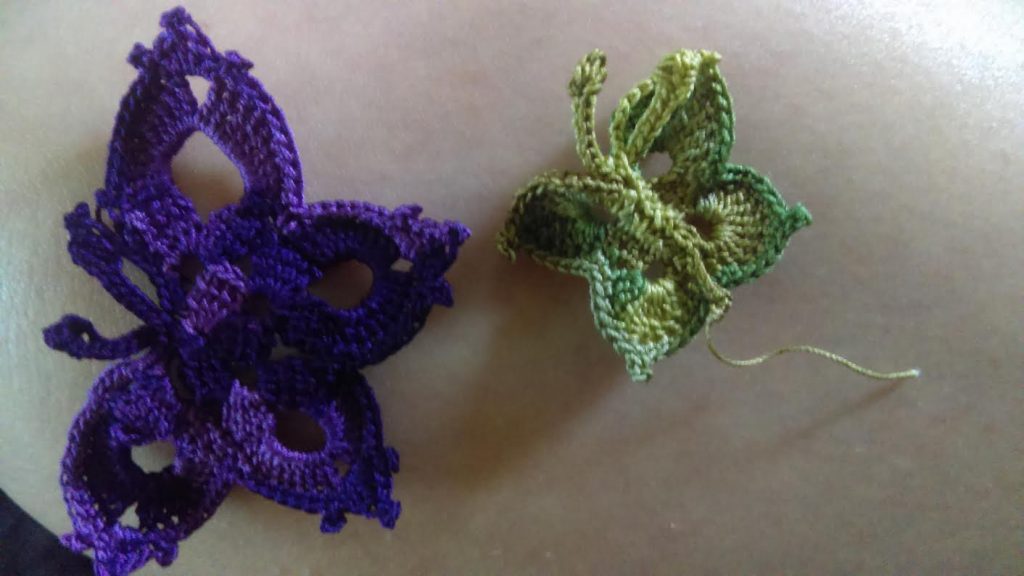
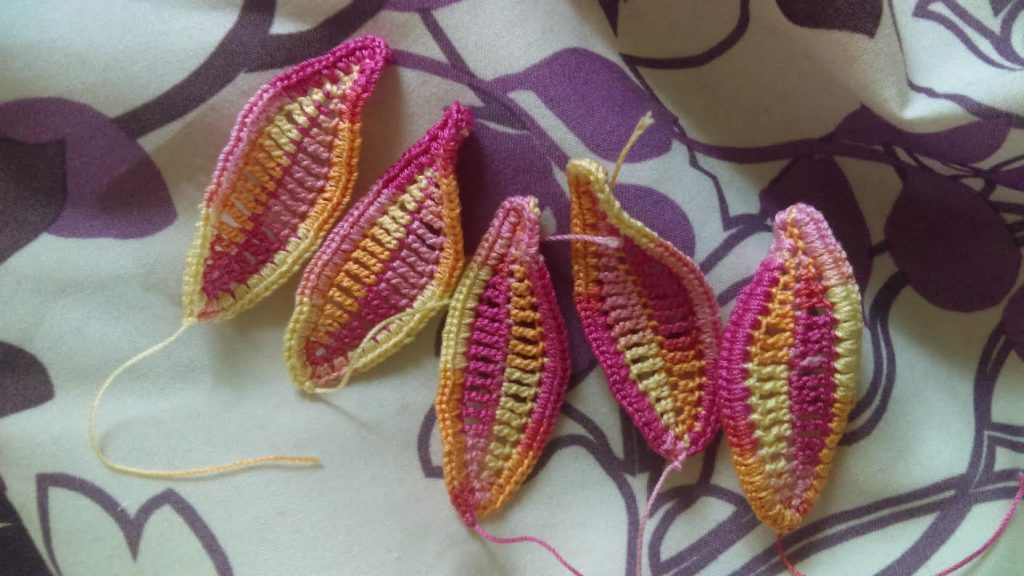
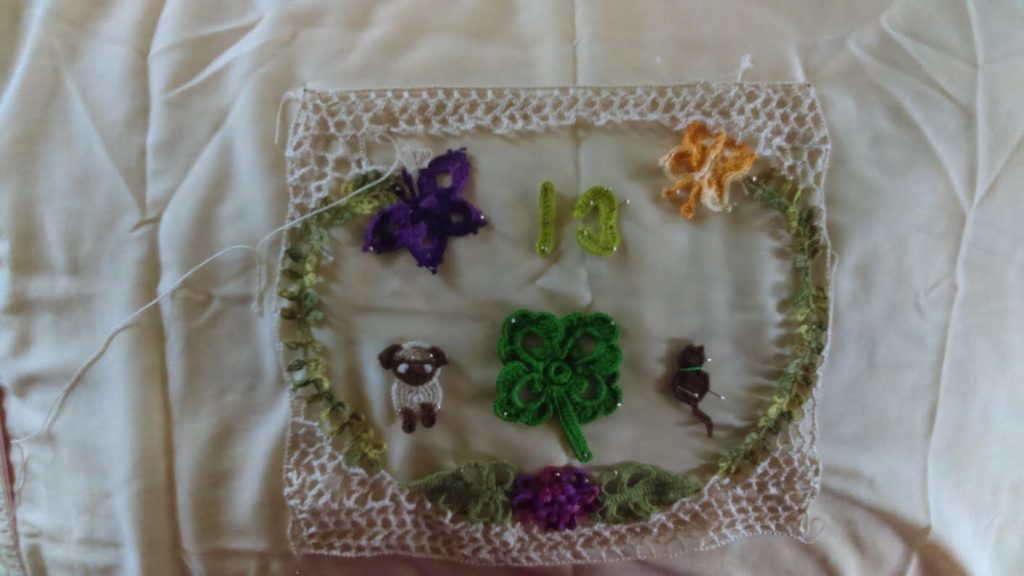
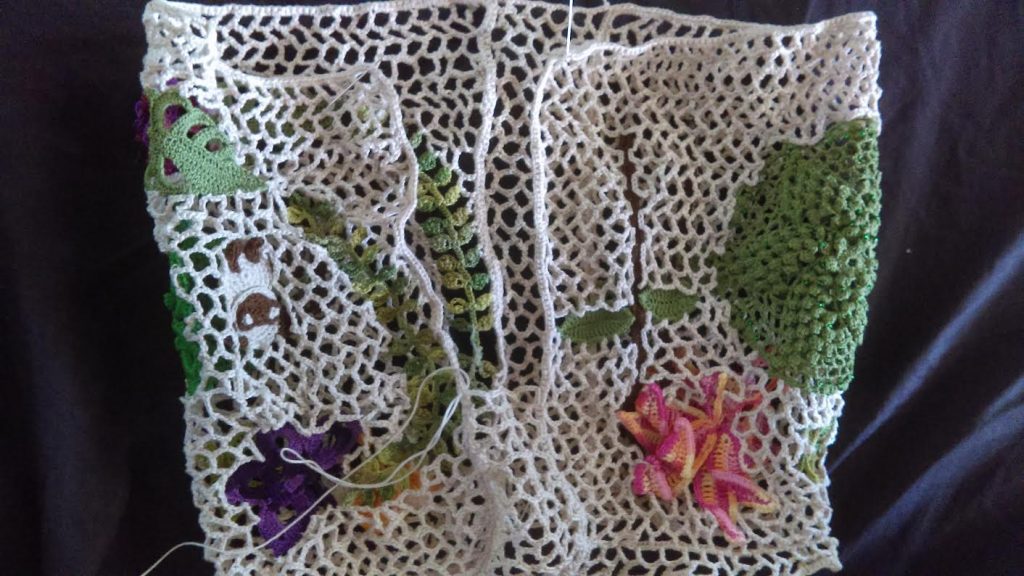
At first, it was very daunting just to wrap my head around the topic of Irish crochet because I was used to crocheting with a single thread and no padding. It dawned on me that I could tweak the old patterns a little in order to use size 20 thread. Lizbeth yarn is very nice, and there are several colors to choose from. I set out to make a gift for a friend of mine. I know her favorite flower is lily, so I searched for lily patterns available in motif form. This wonderful pattern is what I used. I crocheted several different motifs that I thought she would like. At this point I wasn’t sure what to make out of the motifs, but I read to start small. So, I chose to make a medium-sized purse. I wanted the shape to be rectangular, so I laid my motifs in a pattern that was pleasing and conducive to the shape. Using a pillow, I positioned the motifs with pins. I measured the perimeter of the purse so I could create a chain of the same length for my foundation. The “fill crochet” was started at the bottom, right corner. It takes some practice getting used to crocheting the fill without pulling pins. Some people sew their motifs onto a fabric before attempting the fill, but I didn’t want to take the time to do that. There are many videos on Youtube that show how to fill in the blank space between motifs. Lacefromireland is a very informative channel.
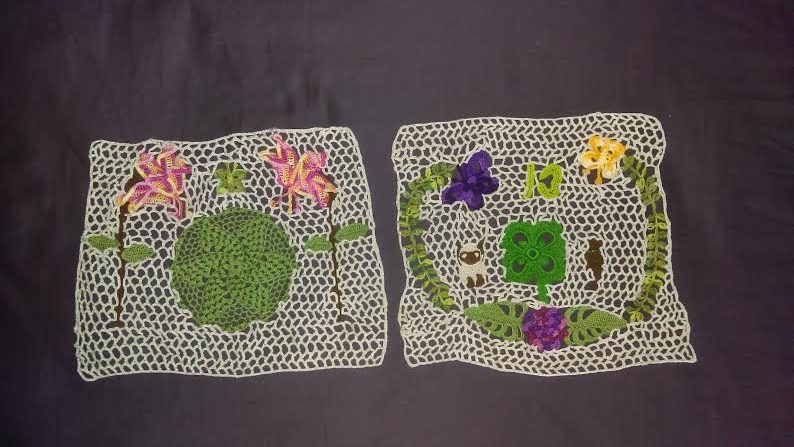
Once I had filled one side of the purse, I placed motifs for the other side and filled it. I ended up with two pieces of “fabric” that needed to be connected.
The purse needed some dimension, so I allowed for some rows between where the sides connected. I single-crocheted around the finished sides, then started the fill stitch I had used for the body in order to create dimension. This part was tricky for me because I couldn’t find any information about joining that didn’t involve just sewing the sides together directly. Once I got the hang of it, it was fairly easy, so don’t get discouraged if it looks tedious.
The hardest part for me was yet to come in this project: sewing in the liner. I don’t own a sewing machine, so I had to sew silky material by hand in order to get my liner. I always seem to make my projects more difficult than they should be. Once I hemmed the material and sewed it to the right proportions, I watched a video on youtube to make sure I knew what I was doing. My only problem was the fact that my crochet fill was a bit too spacey to connect the liner properly. To remedy this, I decided to take the liner material and sew a band of it to the top of the purse in order to have good enough surface area. It’s a thin band, so it doesn’t show up very much through the crochet work. I used the backstitch, at my grandma’s request, to attach the band. She told me that it is a very strong stitch for holding things together. Of course, Grandma is right about that. Sewing isn’t my forte, so I was happy to receive any help from her. After I attached the band, I sewed the zipper onto it. By doing it this way, I was able to hide the zipper material with the full liner that went on top of everything else. The only thing left to do was make the strap. I looked for different crochet cord patterns, but the one I liked best, I found on Sheruknittingcom. I crocheted two buttons for the strap to be secured to on either side of the purse. Then, I sewed the strap around the buttons being careful to hide my stitches behind the liner. This project took far more time than I anticipated, but it was well worth it. I learned a lot more techniques and tricks, and I hope that this will inspire someone to create their own special piece.