Amigurumi Fun with a Kitty and a Couple of Dragons

Amigurumi is a Japanese art involving crocheted or knitted stuffed toys. The craft has been around for many years in Japan, and only started to become popular in the West around the 2000s. Now, it is still very popular because there are thousands of patterns and creations available, and the numbers keep growing. I first learned of amigurumi in 2012 when I started getting back into crochet. Since then, I have made a few creations. Many of them I have given away to friends and family. There is nothing quite like making a gift for a loved one that comes from the heart and is customized. Whether you make amigurumi for yourself or others, it is a very rewarding hobby.

Yarn Pile

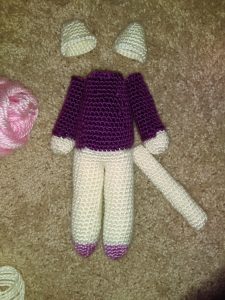
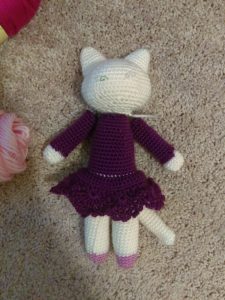
While being a rewarding hobby, amigurumi is also a challenging one. I do not like sewing parts together because it is tedious to me, but it has to be done in this craft. So, I finally sucked it up and decided to make a cute cat. I found a great pattern and tweaked it to suit my tastes. There are so many different ways to detail a stuffed toy and truly make it your own. It took me a while to lose the timidness that came when I thought of changing a pattern. After gaining more needlework skills, it has become fun to change it up instead of scary.

Amigurumi Kitty LegsAmigurumi Kitty Parts

Amigurumi KittyEye Inspiration

Kitty Ear

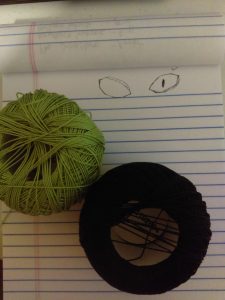
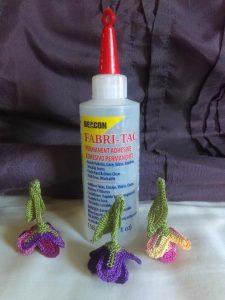
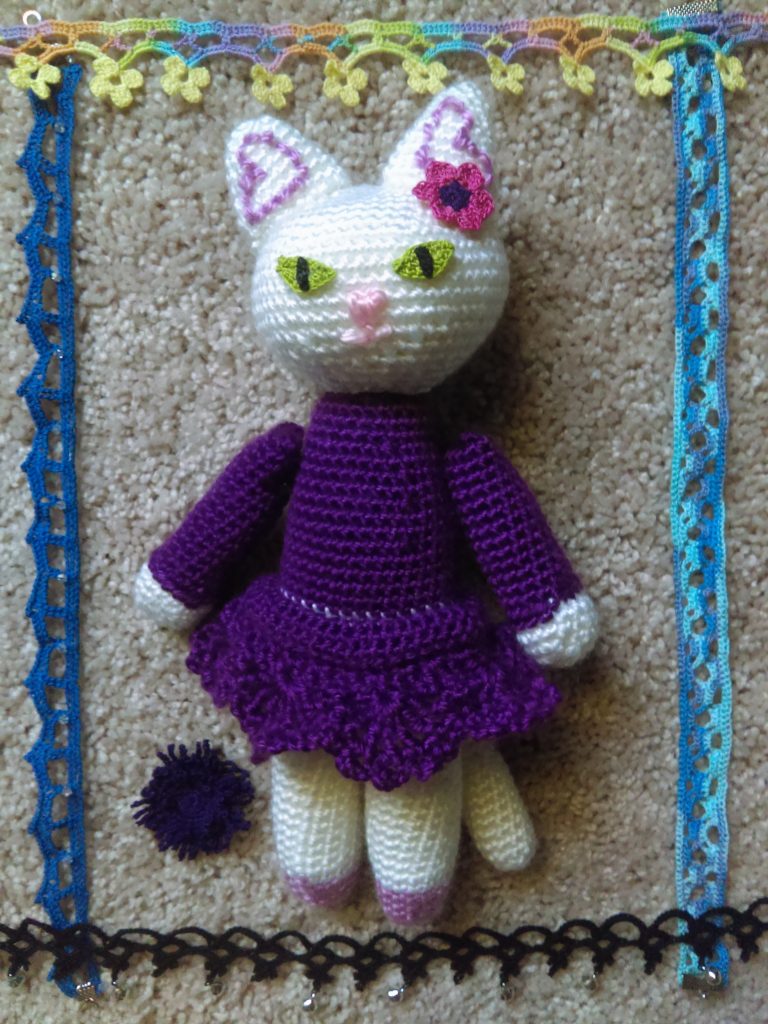
For the eyes, I made my own pattern because I think they should be green. I used Lizbeth yarn size #20 for the irises and pupils. After I finished crocheting, I folded the ends of the eye parts towards the back and glued them. I then glued the eyes to the head using Fabri-Tac.

Amigurumi Kitty Eyes Pattern

Make two irises and two pupils
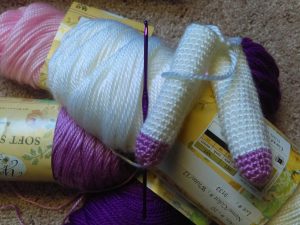
To make the irises, use a size #8 crochet hook, ch. 11, turn
sl. st. in 2nd ch. from hook, sc in next ch., hdc in next ch., dc in next 2 ch. (one in each ch.), trc in next ch., dc in next 2 ch., sc in next 2 ch., turn
sl. st. in next 2 st., sc in next st., hdc in next 2 st., dc in next st., sc in next st., sl. st. in next 2 st., finish and cut yarn.

To make the pupils, use the same hook, ch. 4, trc in first ch., finish and cut yarn.

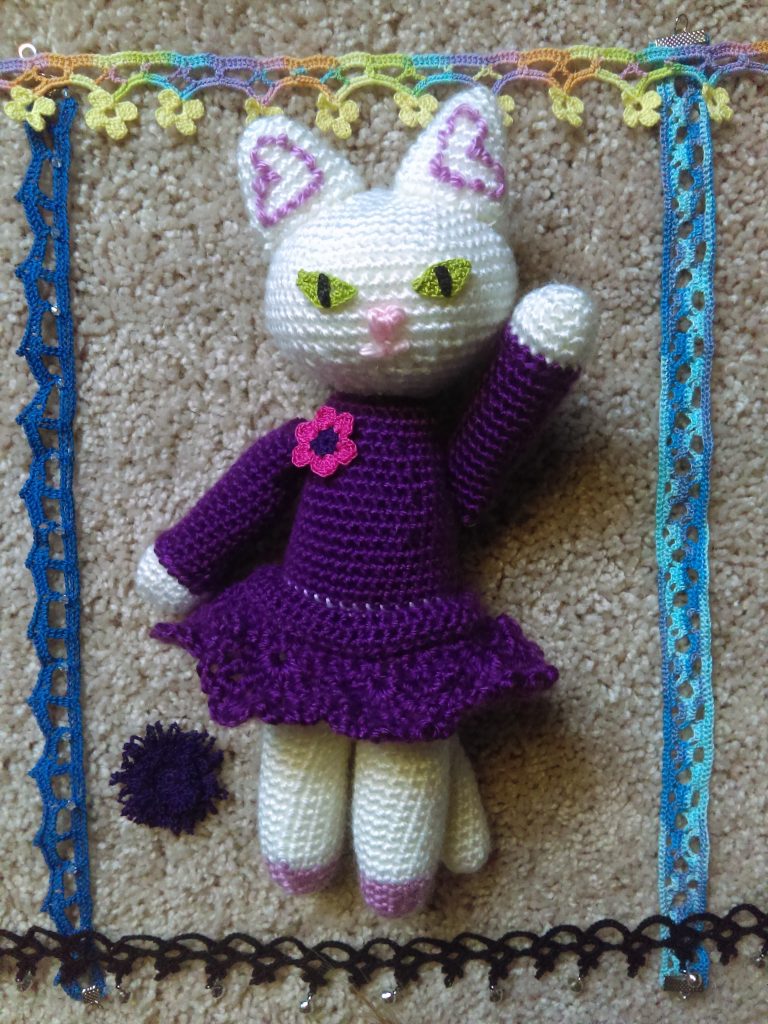
After finishing the eyes, I decided to add some hearts to her ears by embroidering them. Since I’ve been looking at lots of crochet edgings lately, I thought it would be nice to change the skirt of the dress from the original pattern. It was a lot of fun making this kitty!

Amigurumi Kitty Finished

Amigurumi Kitty Finished

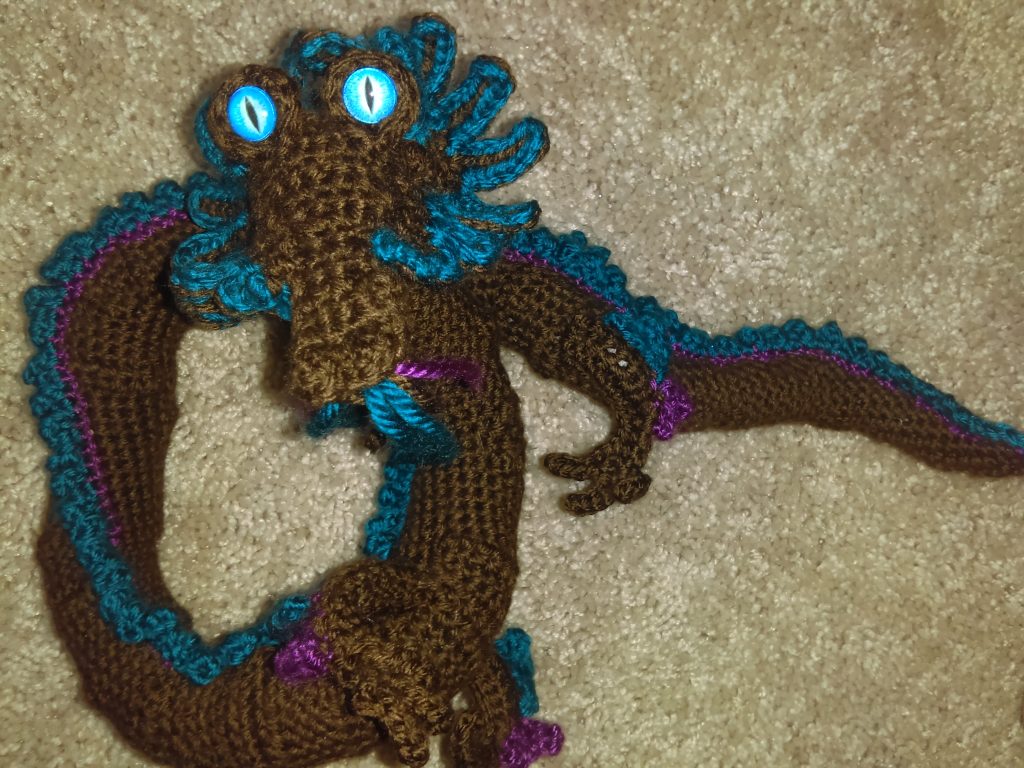
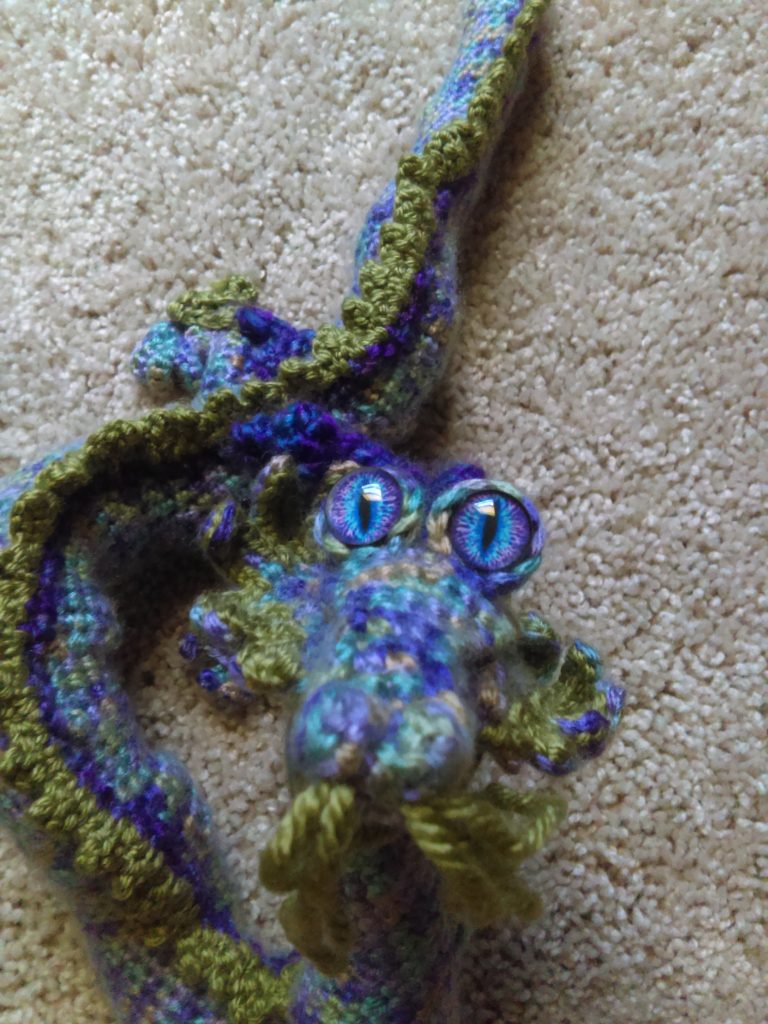
Amigurumi Oriental Dragons

When I first made an account on Ravelry, I found the most awesome oriental dragon pattern. Gail Hovanec came up with it. It wasn’t free, but it was well worth the price. It takes some intermediate knowledge of crochet to complete, as well as a great deal of patience. There are so many different parts to sew on correctly. Finding the eyes was a lot of fun though.

Amigurumi Dragon

Amigurumi Dragon

Pretty Crocheted Tulips That Never Fade

Tulips

When I began looking for floral patterns for my spring purse, I came across a beautiful one for tulips. It’s one composed only of symbols, but it is straightforward. Handmade-Paradise.ru is where I found it. The website is in Russian, but navigable because of the universal language of crochet. These tulips are especially tiny because of the thread and hook used. It takes quite some patience and an eye for detail to make these, but I think they are worth it.

Tools Used

Pictured above are some of the tools needed. This was the second time trying to work with these flowers, so I ended up needing more tools before finishing the project. Here is a complete list of what I used:

Size 8 Hook

Size 20 Lizbeth Yarn

Scissors

Flush Cutters

Floral Wire Gauge 22

Sewing Needle

Fabric Glue

Crocheted Flower Parts

Nylon Flat-Nosed Pliers

Tulip Symbol Pattern

Before putting the tulips together, the parts must be constructed. Below are the symbol diagrams for the leaf, stem, and fringed tulip parts. Crochet one stem and one leaf, or two, if desired. Then crochet both parts of the tulip. Start with a green color for the base of one of the petal layers. After round 3, switch from green to whatever color is desired for the tulip. The second petal layer can be crocheted all with the same color chosen for the tulip.

Tulip Stem and Leaf Symbol PatternFrilled Tulips Symbol Pattern

Below are some pictures of the process of construction. First, I took the solid-colored petal layer and put the floral wire through two different holes so that it was centered. Then I took the green petal layer and pulled the center hole over the doubled wire. After making sure the petals were positioned properly, I used flat-nosed pliers to crimp them in place. I twisted the wire as best I could for added security. At this point, I took the stem piece and slip-stitched it around the floral wire. Once I got to the end of the stem, I used the flush cutters to cleanly cut the wire. Then I sewed the leaves onto each stem and glued the ends to avoid fraying.

Tulip and Floral WireTulip How ToTwisted WireStarting Stem Time to Cut WireTulips Ready for LeavesGlue Time

This project was very enjoyable, and now I have a pretty, non-fading bouquet. The basket below is one I crocheted from a pattern I found on snowcatcher.net. That site has been my go-to for years when it comes to snowflake patterns. There are other gems like the basket as well. The wonderful lady who comes up with the patterns offers a PDF booklet for donations. There are some patterns in the booklet that are not on her site. It’s definitely worth a look.

Tulips in Basket