Homemade Soft Pretzels Pay Off in Deliciousness

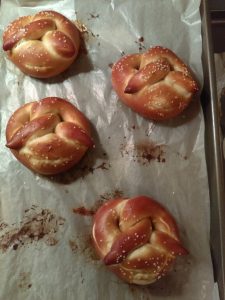
Pretzels are delicious, especially when they come directly out of your own oven. When I first looked at Pretzel Making at Home, by Andrea Slonecker, I thought the process would be tedious. However, I was very wrong. Making pretzels from scratch is fun and easy once you get the hang of it. I started with the recipe for the soft variety, since it is recommended in her book. This recipe doesn’t taste like Auntie Anne’s because it is a traditional one, but it is super tasty in its own right.

Soft PretzelsSoft Pretzels

While the habit of making pretzels is easy to pick up, the first time was quite a challenge for me. The kitchen was a mess, and I reread everything, probably twenty times. No joke! But, that’s how I always am when trying anything new. While I know my way around pastry, I was treading unfamiliar water with yeast bread. For some reason it intimidated me. However, I found out that the most difficult part of making yeast bread is waiting for the dough to rise. Planning ahead is key, because, up to a certain point the dough tastes better the longer it sits.

Yeast, Warm Water, and Barley Malt SyrupBread FlourBeer Added to Ingredients

Soft Pretzel DoughSoft Pretzel Dough KneadedSoft Pretzel Dough Risen

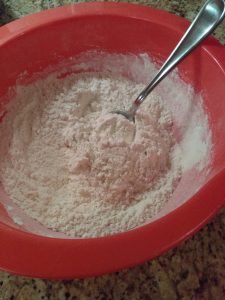
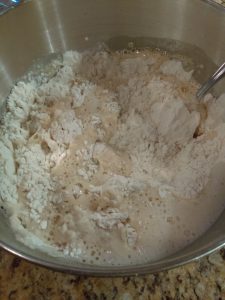
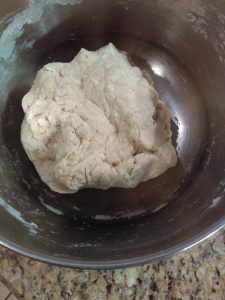
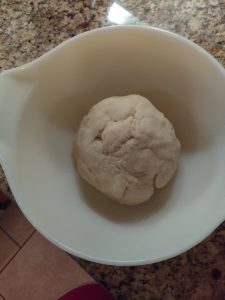
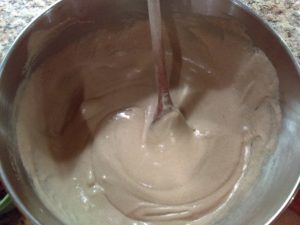
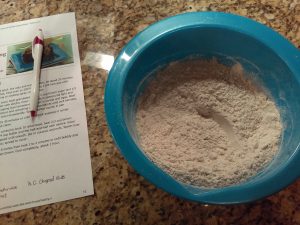
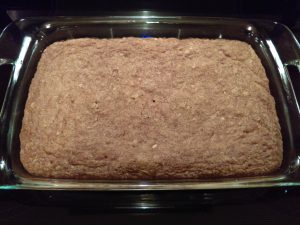
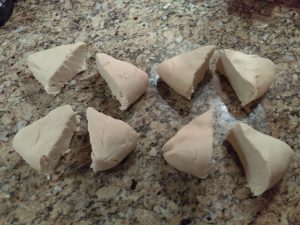
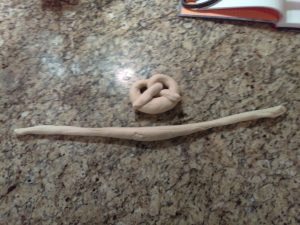
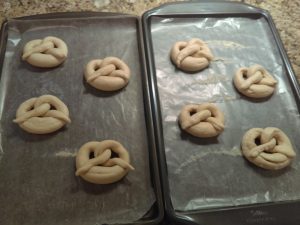
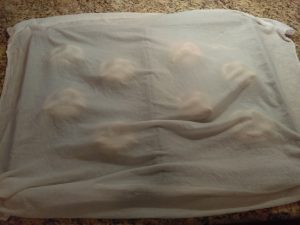
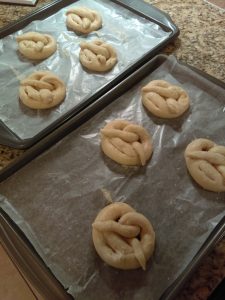
After combining all of the dough ingredients, I kneaded the ball for seven minutes by hand. It could be kneaded with a stand mixer, too. Then I let it sit overnight in the refrigerator, where it doubled in size. I then deflated and cut the dough into eight equal parts as the recipe instructed. I took each part and rolled it out, keeping the middle thicker than the ends. Andrea instructs to let the rolled pretzels relax, then to stretch them more before twisting them. After twisting them, I covered them with a moist towel and let them rise by about half. While those rose, I had time to prepare the lye solution and preheat the oven to 500 degrees Fahrenheit.

Soft Pretzels Soft Pretzels

Soft Pretzels Soft Pretzels

Dipping Pretzels in Lye

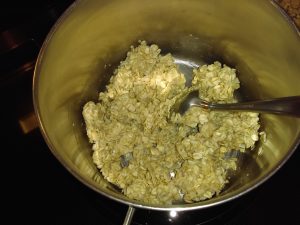
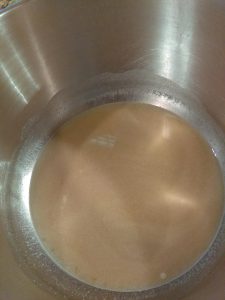
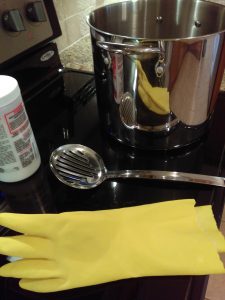
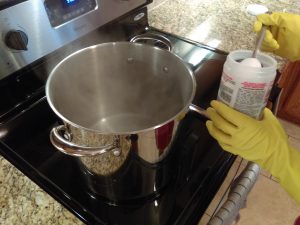
It is funny to note that the lye part didn’t scare me as much as the yeast bread until I had to stick my head near the steaming pot. It is extremely important to keep the stove fan on the entire time to avoid lye fumes. Even if there is no steam, the fumes are still caustic. Andrea suggests wearing a mask and rubber gloves to avoid any irritation. While it seems drastic, there is really nothing to be frightened of as long as you follow directions and keep good ventilation. Lye is very important in making that unique pretzel taste and dark brown crust. If lye seems too scary, there is a baking soda alternative.

Soft Pretzel Lye SolutionSoft Pretzel Lye Solution

Soft Pretzels Dipped and Salted

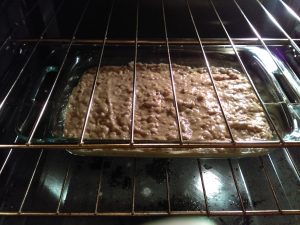
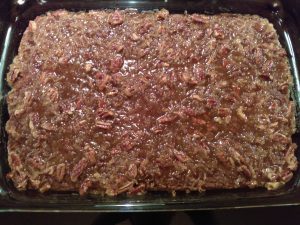
After dipping the pretzels in lye, I salted them and placed them in the oven. Halfway through cooking time, I rotated the pans and switched where they were. It only took twelve minutes of actual baking to get done. Most of the work involves kneading and dipping the dough. Overall it was an awesome experience, and I have since made two more batches. I highly recommend pretzel making at home both the book and the practice.


Transplanted Lilies Make Room for Fire Pit

Transplanted lilies have made space for a backyard fire pit. Two seasons ago, I planted lilies in an area that I thought would be undisturbed. This year, my husband suggested putting a fire pit there. I thought that was an excellent idea, so I told him we would have to wait until fall. Experts recommend transplanting lilies in late September or early October, depending on the zone. Although the lilies did not need dividing, they still needed to be saved.

Transplanted LiliesLily Transplanting

Above shows just how much the lily bulb changed in a year and a half. All of those came from a singular bulb! When I started digging them up, I had to be very careful not to damage the tender surface. Some were nicked, unfortunately, because it was difficult to see where everything began and ended. It is always smart to start digging far away from the stem. One of the most important things to remember when moving lilies is to do it quickly so that the flesh doesn’t dry. So, I preemptively dug a couple holes in the new area before exposing them to the air.

New Lily Home

After gathering all of the lily bulbs that I could find, I separated the different varieties. I put pineapple lilies on one side of the gladiolus garden and the white ones on the opposite side. When planting, be careful to deposit large bulbs 5 to 6 inches below the surface and small bulbs 3 to 4 inches below the surface. Also, keep them 8 to 12 inches apart. It is important to put mulch or compost over them to protect them from extreme temperatures. That doesn’t need to be done until just before the first frost though.

Transplanted Lilies

Transplanted LiliesTransplanted Pineapple Lilies

There isn’t much to see of the transplanted lilies, but they should come up next year. I kept the green attached to the bulb so that it could absorb more nourishment for the winter. Very soon, I will purchase some mulch to cover the whole garden since both gladiolus and lilies need protection.


Old-Fashioned Cake with Broiled Icing and a Bit of History

Old-Fashioned Cakes

This old-fashioned cake recipe from Pillsbury is really delicious. It uses oats and broiled icing to achieve a crunchy/chewy texture. Oats or other grains were commonly used as wheat substitutions in the past. It is a very moist cake with a unique icing that is worth the wait to eat. When broiled icing cools completely, it becomes very crispy. I personally really enjoy this cake straight out of the oven. With fall just around the corner, this cake supplies lots of spice that goes really well with coffee.

Baking is Fun!Baking is Fun!

Since the recipe for the old-fashioned cake comes from Pillsbury, it reminded me of a cookbook my grandma gave me. The one I have is the third edition (1948) of Baking is Fun! I remember borrowing it as a kid and making a very moist cake. Something familiar about it is the broiled icing. Once you try it, you will never forget it.

Old-Fashioned Cake

History of Oatmeal in the U.S.

The history of oatmeal in the United States is fascinating. It goes back to the first European explorers and Virginia, where oats were cultivated prior to 1648. Primarily, oats were grown in colonial America for animal feed. It was the Scottish, Dutch, and other immigrants that traditionally used them for human consumption. In 1747, Hannah Glasse recommended that madling cakes should be of the same thickness and bigness of oat-cakes. However, those cakes are not the conventional cakes we think of today. They were flat and about the size of a medium dinner plate. Oatcakes have their own interesting history. 

Oats were first very difficult to process, according to Science in the Kitchen (1893). They were also seen as food for animals or peasants but considered to be healthy. The Grocer’s Encyclopedia (1911)  lists oatmeal as gaining popularity in the U.S. because of its easy preparation. It makes sense that oatmeal was becoming more commonplace because in 1875, Asmus Ehrrichsen invented a groat-cutting machine that made harvesting oats quicker and easier. In 1877, rolled oats were first produced by the Quaker Mill Company. By 1884, Quaker Oats were selling their grain as the first packaged food.

The Quaker Mills Company advertised heavily for an increase in oatmeal consumption. In 1891, they became the first company to feature a recipe on their box. It worked very well for them and ensured rolled oats to be an important staple. After the United States entered World War I, President Wilson established the United States Food Administration (USFA). Food was used as a weapon, so the President asked that people voluntarily limit consumption. The U.S. Department of Agriculture and USFA issued a food leaflet in 1917 that lists oatmeal recipes to encourage less wheat usage. This circular from August 1918, just outright says to use oats in order to conserve wheat. The advent of baking powder in 1856, really helped oatmeal find a place in baked goods. Because of the wonderful inventions of our predecessors, we can enjoy delicious things such as the old-fashioned cake.

Old-Fashioned CakeOld-Fashioned Cake

Old-Fashioned CakeOld-Fashioned Cake

Old-Fashioned Cake Icing MixtureOld-Fashioned Cake

Old-Fashioned CakeOld-Fashioned Cake


Crochet Coaster of the Turtle Variety

This crochet turtle coaster I found at Amigurumi Today is easy to make and useful for saving furniture surfaces. It requires knowledge of the magic circle and some basic sewing skills. Unfortunately, I didn’t have any brown  yarn, so I went with two shades of green. Also, I didn’t have any safety eyes, but I was able to substitute yarn to act like embroidery. Most patterns suggest leaving a long end when finishing a part in order to sew it to the whole. I have experimented, and it has never successfully worked for me. Instead, I prefer to leave a short end and use either yarn or thread to sew together the parts. Thread is usually better than yarn, especially if the colors match well, because it fastens tightly.

Turtle Coaster YarnTurtle Coaster

After crocheting all eight pieces, it’s best and convenient to sew all of them but the shell onto the belly. By doing it that way, all stitches and ugly threads will be hidden underneath it. Before sewing the head to the body, I semi-embroidered the eyes and mouth. This method helps me center everything better. When I first saw this pattern, I wondered if it would be all right to use acrylic yarn because of the heat issue. Then I realized that it’s not a potholder, so any heat coming off of cups shouldn’t melt the material. The turtle coaster ended up being much larger than I thought it would be, so it could be a cute little potholder. If making it into a potholder, I would use cotton yarn to avoid melting or flames.

Turtle CoasterTurtle Coaster

I think the coaster turned out really cute! There are so many other cute and free patterns available at Amigurumi Today. The site is definitely a must for any crocheter. Everything is categorized nicely and described in great detail. So, whether you’re just beginning or are a pro, it’s a great site.

Turtle Coaster

Turtle Coaster